How I made my Lionel trains remote-controlled and battery-powered!
This practice amongst model railroaders is also goes by the name Dead Rail. There is no power fed to the tracks at all. battery, installed on the train, supplies the power. It is more common in larger-scale model railroads, due to the size it requires. It specifically makes sense with Garden railroads, since their tracks are outside in the elements
For this project I used Lionel O-scale trains and tracks. The track that I made is an about 4 feet by 8 feet loop. It is portable, for both indoors and outside use. It is also possible to power the tracks the traditional way, enabling use of traditional trains that require track power.

The train engines I am using for this project are Lionel EMD NW2 Diesel switchers, from early -50’s, and early -70’s.
Dead Rail with Lionel trains
These Lionel engines have the famous Pullmor AC motors. Those motors can also be run with DC power, which we need, since we are using DC battery power.
The 1970 MPC-era NW2 switcher has enough room inside the shell to contain the battery and other needed parts, but the post-war switcher doesn’t have the room, unless I choose a much smaller battery. So, I decided to convert a caboose to a power-unit, meaning that both engines can use the poer-caboose.
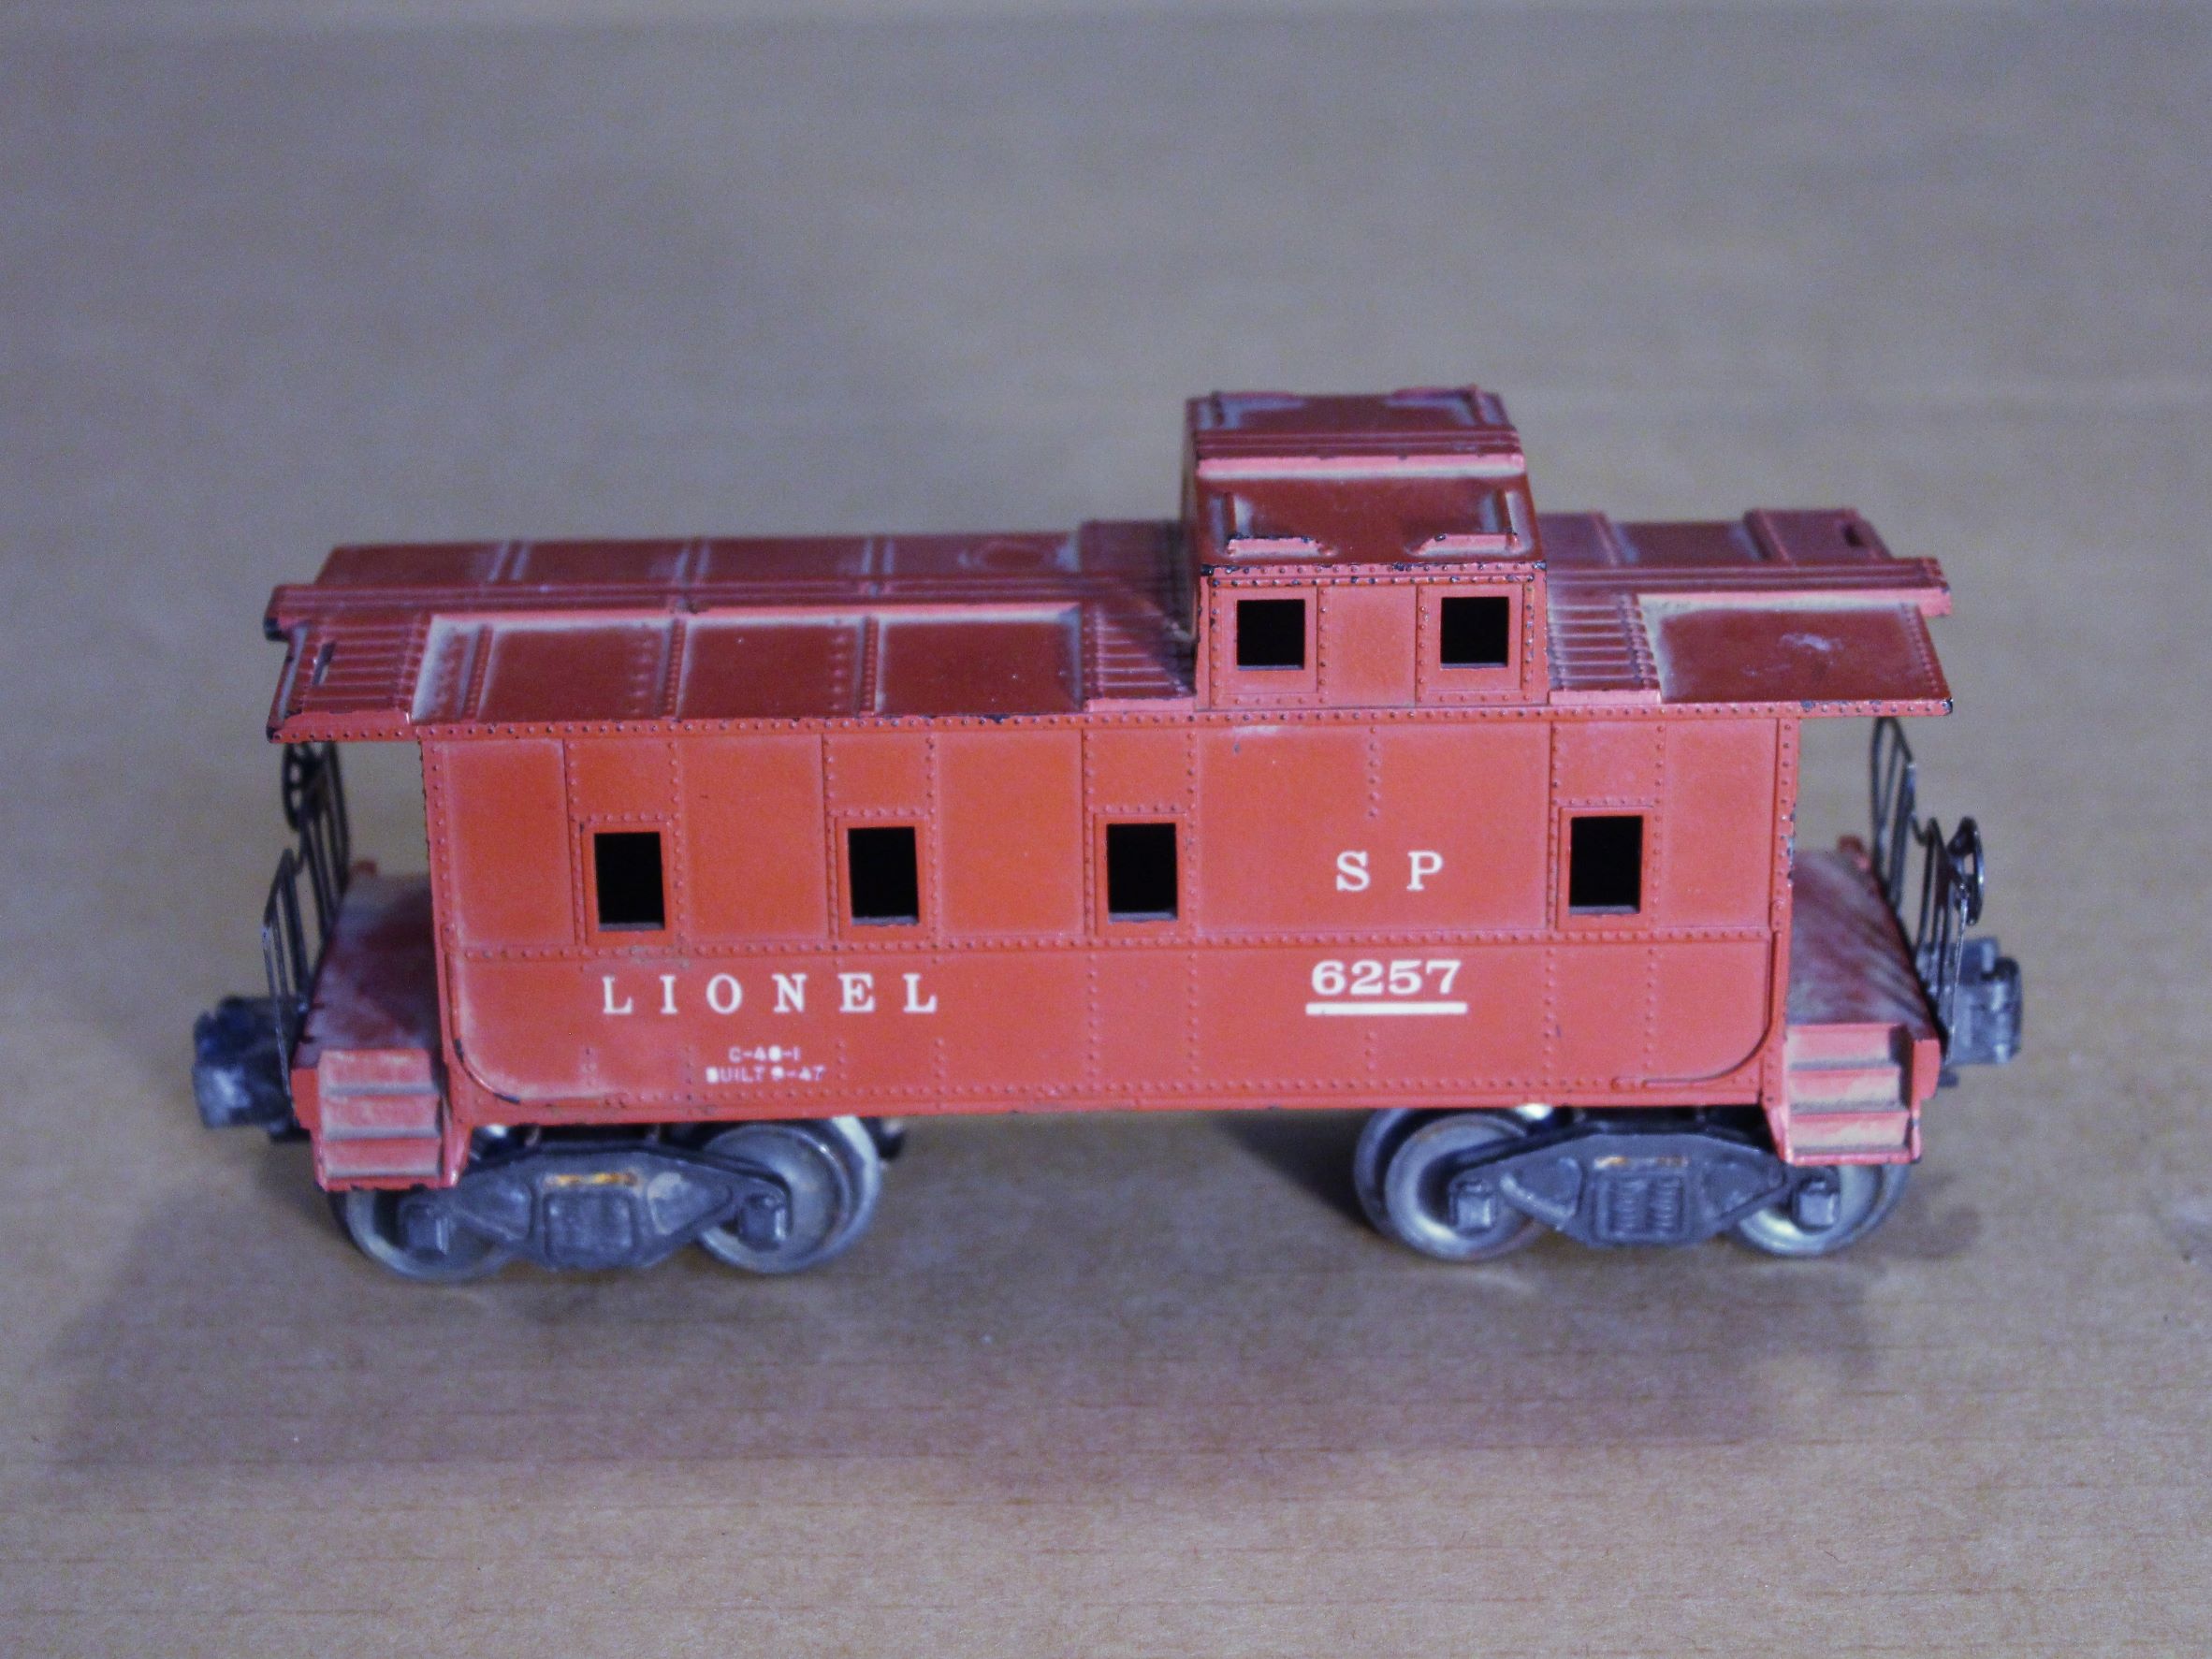
The caboose I have available for the project is a Lionel 6257 caboose from early 50’s. Size-wise it was still a bit crowded for to fit all the stuff, and I didn’t want to alter the original shell, so I designed a custom shell, that fits on the original frame.
Power source and remote control
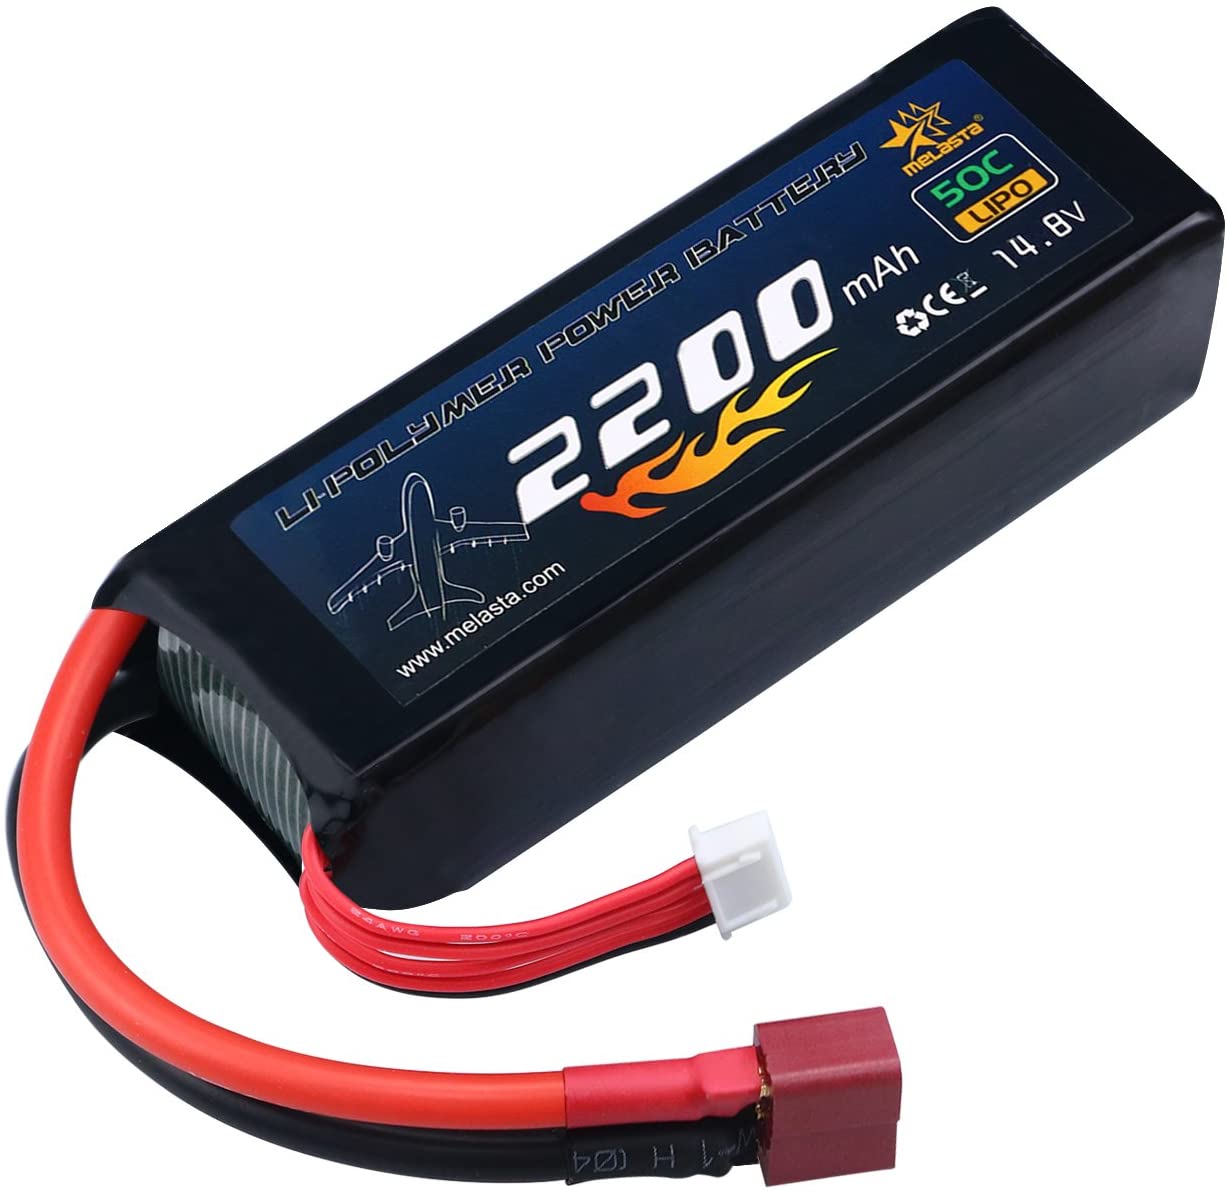
For battery power, I chose a 14.8V 2200mAh rechargeable LiPo battery. It might be overkill, but I wanted plenty of pulling power, and longer running time, and the 4-cell battery still is small enough to fit.
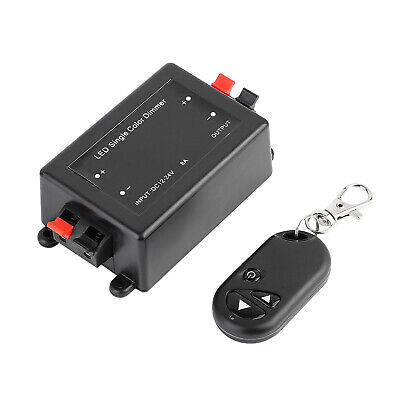
For the remote control I used a wireless led-strip dimmer kit. The receiver unit is small enough, and the sender has on/off and its dimmer control functions as speed control in this case.
It doesn’t have reverse control, but if the train engine has the Lionel electronic direction unit, the remote is able to control the direction.
Other components needed for Dead rail
Other parts needed for the project are a 6A circuit breaker and a diode, both in order to protect the receiver unit from electrical shorts, power switches, wiring, and optionally, led lamps, or other type of lamps. I use an automotive resettable breaker, but it seems to react too slowly, so it would be better to use a poly-switch breaker.
The circuitry is quite simple, just have to be careful with polarity, and not forgetting the diode at the controller output.

I added switches to the locomotives, for switching between power from the track, and battery power.
I salvaged the switches from some old remote-control cars. One switch is for the battery power, and one is for switching between rail- and battery power.
You should be able to find all the electronic components online, at fairly low prices.

3D-printing parts
You also need some method of keeping it all together. Fortunately, I have a 3D printer, which I used to make cradles and holders for the various parts (scroll trough the slide show below). The 3D-print design is available on Thingiverse: https://www.thingiverse.com/thing:5031029


After testing the self-powered train, I can tell it has plenty of power. At full speed, it won’t stay on the track in curves, and it pulls 9 cars very easy at lower power.
This short YouTube video is a slide show, and has some additional images and video, showing how I built my dead-rail train (pardon my heavy accent…)
Hi this is Bob Fogarty again, well I have everything wired exactly per your directions. when I turn on the switch the engine just runs constantly at one speed. The remote doesn’t seem to do anything. Any help would be appreciated.
Thanks, Bob
In the second diagram, on the right-hand side, where it says “Battery”, the positive and negative wires should connect to the remote receiver (to the “Power outlet to the train” in the first diagram, not directly to the battery, I need to update the diagram accordingly).
Also, the circuit breaker I used, wasn’t a fast enough type. When my train de-railed and shorted, it burned the receiver board.
I recommend using a poly fuse instead.
For example “uxcell 72V 3A Resettable Fuse Radial Lead PPTC Polyswitch” on Amazon.